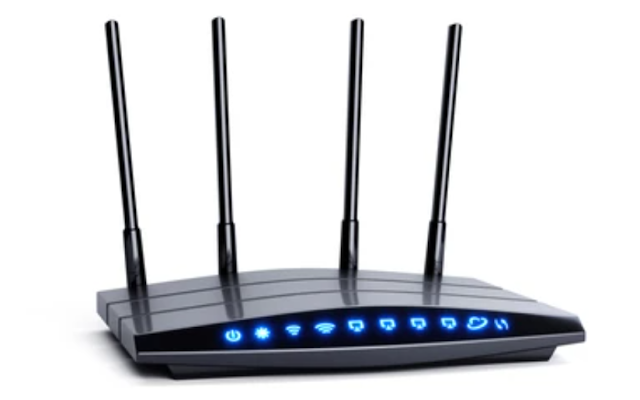
A Comprehensive Guide to Setting Up a Wireless Router
Setting up a wireless router is an essential step in creating a home or office network that enables wireless internet connectivity for multiple devices. Whether you're a beginner or have some experience with networking, this article will guide you through the process of setting up a wireless router from scratch. By following these step-by-step instructions, you'll be able to configure your router and establish a secure and reliable wireless network.
Gather the Required Equipment:
Before setting up your wireless router, make sure you have all the necessary equipment. This includes the router itself, an Ethernet cable, a modem (if you don't have a modem-router combo), a computer or laptop, and the manufacturer's documentation that came with your router.
Choose an Ideal Placement:
Select an optimal location for your wireless router. Place it in a central area of your home or office, away from obstructions like walls or large metal objects. This ensures better signal strength and coverage throughout the space.
Connect the Router to the Modem:
If you have a separate modem and router, connect the modem to the router using an Ethernet cable. Plug one end of the cable into the modem's Ethernet port and the other end into the router's WAN (Wide Area Network) port.
Connect the Router to Power:
Plug the power adapter into the router and connect it to a power source. Ensure the router is receiving power by checking for LED indicators or any other visual confirmation.
Access the Router's Configuration Interface:
To configure the router settings, you'll need to access its configuration interface. Open a web browser on your computer or laptop and enter the default IP address of your router (e.g., 192.168.1.1 or 192.168.0.1) in the address bar. Consult the manufacturer's documentation or the router's label for the correct IP address.
Log in to the Router's Interface:
Enter the username and password for your router. If you haven't changed these credentials, refer to the manufacturer's documentation for the default login details. It's recommended to change the default username and password for improved security.
Configure Wireless Network Settings:
Inside the router's configuration interface, navigate to the wireless settings section. Choose a unique network name (SSID) that will be visible to devices in your vicinity. Set a strong password to protect your network from unauthorized access. Select the appropriate security protocol (e.g., WPA2) for enhanced encryption.
Set Up DHCP and IP Address Range:
Enable the DHCP (Dynamic Host Configuration Protocol) server on the router to automatically assign IP addresses to devices connecting to your network. Define the IP address range to be used by the DHCP server. This ensures smooth communication between devices.
Adjust Additional Settings:
Explore other settings options, such as port forwarding, parental controls, guest networks, and Quality of Service (QoS). Customize these settings according to your specific requirements.
Save and Apply the Changes:
Once you have configured all the necessary settings, save the changes and apply them. The router will restart, and the new settings will take effect.
Connect Devices to the Wireless Network:
On your computer or laptop, search for available wireless networks. Locate the network name (SSID) you set up earlier and enter the password when prompted. Once connected, your device will have access to the internet through the wireless router.
Setting up a wireless router doesn't have to be a complicated task. By following these step-by-step instructions, you can successfully configure and establish a wireless network in your home or office. Remember to choose an ideal placement for the router, connect it to the modem, access the router's configuration interface, configure wireless network settings, set up DHCP and IP address range, adjust additional settings, and connect devices to the wireless network. With a properly configured wireless router, you can enjoy reliable and secure wireless internet connectivity for all your devices


